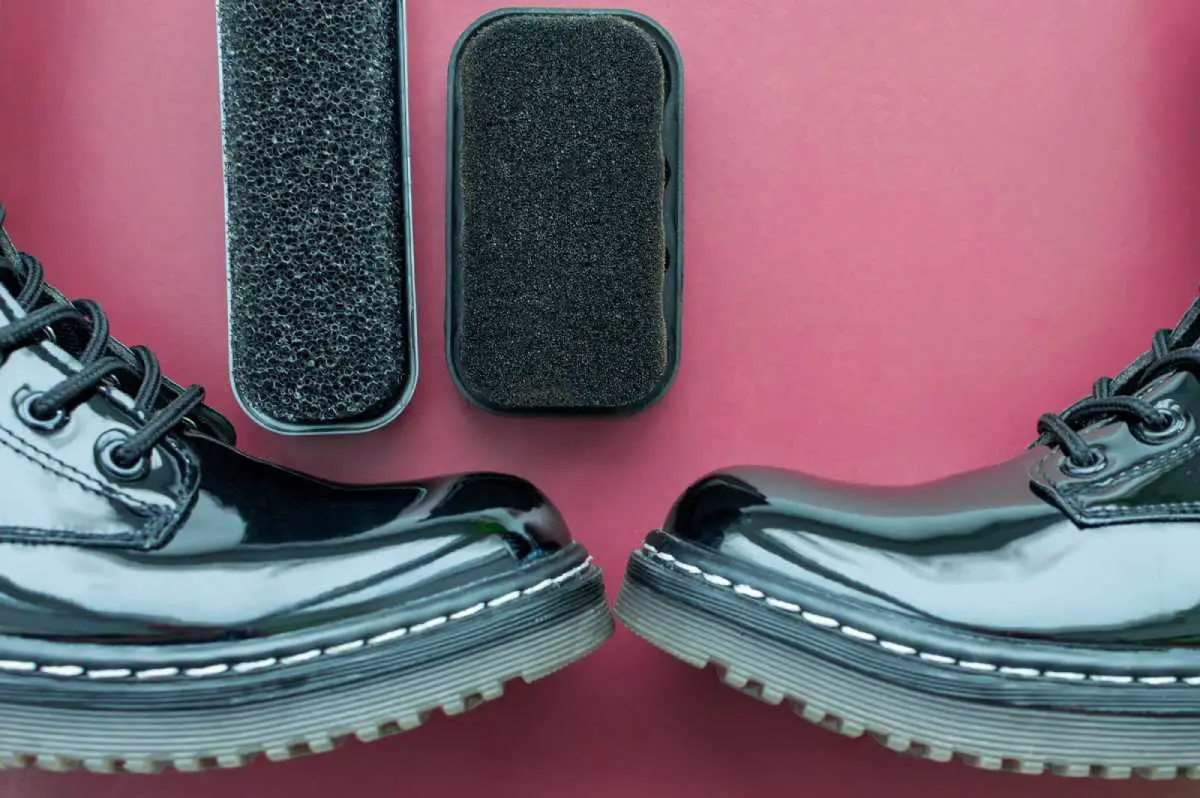
Whether you’re just starting at the police academy or enjoy looking your best, nothing beats the sophistication of a shiny pair of boots. But how do you shine your boots to achieve that mirror shine? Read on to find out how to shine boots to make everyone think you got a brand new pair.
The basic principle of mirror shining your shoes is applying thin layers of shoe wax and shining each layer in between. With a good horsehair brush and a quality wax polish, all you have to do is follow six simple steps to achieve a mirror shine that even brand new boots would envy.
What makes boots shine?
Although it may look smooth, the leather on your boots is uneven, which is what creates the leather grain. The unevenness of the surface causes light to scatter, which causes the leather to have a natural matte look.
Waxes and polishes can help fill in that unevenness and create a smoother layer, creating a glossy look and clearer reflection. When you’ve added enough to fill in the dips in the leather grain for a level surface with a layer of wax on top, you have a mirror shine or a spit shine.
Mirror shine boots are common in many fields, such as the military. It is also called a military-style shine for a reason. EMS boots are also shined in this manner, as well as some cowboy boots.
Achieving this level of shine on your boots is not a fast process. It may feel tedious, especially the first time you do it. But it is worth it for the results. You can essentially achieve a mirror shine on any pair of leather boots.
Supplies you need for the perfect shine
You can easily shine your boots at home with a few supplies.
You will need:
- Horsehair brush
- Horsehair dauber brush
- Cotton rags
- Wax shoe polish
- Leather cleaner
- Water
- Newspaper
6 Steps to shine your boots
Step 1: Prepare your shoes
Before doing anything, be sure to lay down newspaper in your work area to prevent staining your furniture or floor.
If your shoes have laces, now is the time to remove them. Before you begin to shine your shoes, you may want to clean them and remove any old polish that may be on them. Old layers of polish may contain dirt, which could get in the way of your shine. Use a horsehair brush to get into the crevices to remove particles of dust and dirt.
After using your brush, use a good leather cleaner, such as Leather Cleaner by Leather Honey to quickly and gently remove dirt, oil, and tough stains from your leather booths.
Step 2: Apply leather conditioner
This step isn’t necessary, but it is recommended, as washing your boots with a leather cleaner may remove some of the oils from the leather, leaving them dry. Use Red Wing Heritage Unisex-Adult All Natural Leather Conditioner-U to condition your boots and increase their natural water resistance.
Step 3: Apply a thick base coat of polish
The base coat fills in the pores and evens the surface to form the foundation of your mirror shine.
Make sure that you are using a quality wax shoe polish, such as Lincoln Stain Wax Shoe Polish. Wax polishes ensure more shine, and Lincoln has a variety of colors to match your boots.
Use a horsehair dauber brush to spread a good dab of polish on the boot in a quick circular motion. Make sure you cover the entire boot in a thick, even layer. After this layer, you will want to allow the polish to dry completely, which could take up to an hour.
You then want to buff the shoes with your horsehair brush in light quick strokes to smoothen the wax layer and create a brush shine.
Step 4: Add more base coats of the toe caps
You will only want to get a mirror shine on the hard toe caps of your boots and just under the area where your shoe crease when walking, or else the thick layer of hard wax may bend.
Repeat step 3 at the toe caps until you see the grain of the leather start to fade, which may take as little as three coats, or as many as ten coats, depending on the type of wax polish you use.
Step 5: Spit shine the toe caps
You’re almost there! You now want to spit-shine your toe caps to polish the wax layer to a smooth, mirror-like surface.
First, you wrap a clean area of the cotton cloth tightly around your pointer finger and secure it. Add a few water drops to your fingertip, then pick up a small amount of wax on that same finger.
Using an extremely gentle touch, so you do not rub off the existing layer, apply the wax on your fingertips in small quick circles onto the area to be mirror-shined.
You may notice that there is more and more resistance forming between the boot and your finger and that the area has turned matte. This look is what you want as the solvent has dried, and the wax is hardening. Continue working the wax to a smooth layer, and add a drop of water to continue lubrication. Continue until the matte disappears and you notice a glossy shine.
Allow the wax to dry for 15 minutes, then repeat this step until you get your desired glossiness.
Step 6: Maintaining mirror shine
After all that hard work, you should have the perfect mirror-shined shoes! To maintain your delicate mirror shine, you will want to stay out of the sun. After every wear, use a mild cleaner to clean off the top layer that may continue dust and dirt, then repeat step 7 to achieve that shine once again.
You will eventually have to repeat all of the steps, but this shine is great while it lasts!


